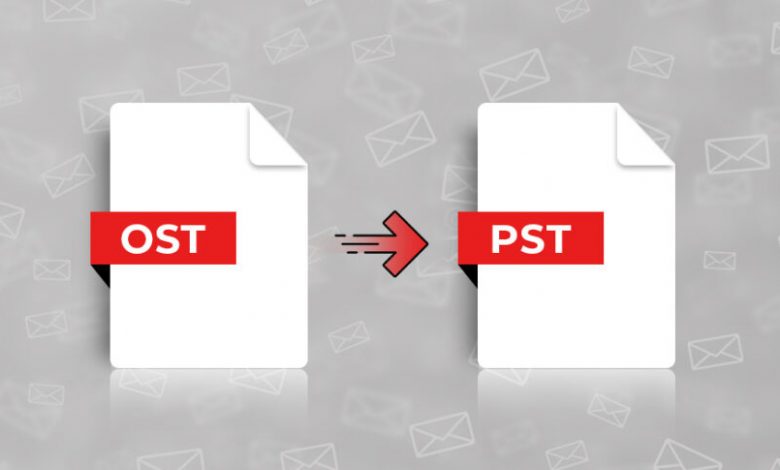
Without using Exchange or Outlook, You can Import Outlook OST to PST for Free.

Microsoft’s Outlook is the most widely used email client. Both OST and PST file formats are used to save Outlook data. When Outlook is connected to Exchange Server, it saves data in the OST file format. You can use Outlook in offline mode, and any changes you make to the OST file will be updated once the Exchange Server connection is established. PST files save all of your data, including emails, contacts, notes, calendars, journals, and other items, to your computer. We have provided a solution to import Outlook OST to PST in this blog or you can go with an experienced method to Convert OST to PST. Know why you’re doing this conversion before you start.
Why is it Necessary to Convert OST to PST?
Discover why it’s necessary to import Outlook OST to PST format –
You will not be able to connect to Exchange Server if Exchange Server crashes or if there is a system failure, virus attack, or other issues.
This type of situation can have a negative impact on your work; therefore, you can avoid it by converting OST data to PST.
Data Migration – By converting an OST file to a PST file format, you can easily migrate data from one machine to another. When it comes to moving data between machines, this is extremely useful for businesses.
Exchange Server maintenance – You must still access mailbox items due to Exchange Server maintenance. In such a situation, converting an OST file to PST format is a good idea.
Exchange Server account data deletion by accident – If your Exchange Server account data is accidentally deleted or lost. Converting an OST file to a PST file format can help you recover your data.
OST to PST Conversion Methods
To import Outlook OST to PST file format, there are several manual solutions available. We’ll go over a few manual options for performing this conversion here.
Method 1: Import and Export your Mailbox as a PST (Personal Storage Table).
The mailbox items can be imported and exported in PST format. You’ll need Outlook installed and connected to Exchange Server on your computer to do this.
- Open Microsoft Outlook and select File from the File menu.
- Select the option to Open and Export.
- Choose Import/Export from the drop-down menu.
- Click Export to a file from the Choose an action to perform drop-down menu and click Next to continue.
- Select Outlook data file (.pst) and then click Next.
- Now select the folder from which you want to export. To continue, select the files you want to export and click Next.
- Allow/disallow options are selected, and then the Finish button is pressed.
- The OST file will be automatically converted to PST format and saved to the desired location.
Method 2: Mailbox Items are Archived
You must enable archive settings in order for OST files to be saved as PST files in the system when using the Archive feature. This feature maintains the optimal mailbox size.
To create an archive mailbox, follow the steps below –
- Open Microsoft Outlook and go to the File menu in the upper left corner.
- Select Advanced from the drop-down menu under Options.
- Select Auto Archive Settings from the drop-down menu.
- Enter the number of days you want to Auto Archive for.
- Use the Browse button to find the desired location, then click OK to continue.
Method Number Three: Professional Solution
If you don’t have access to MS Outlook or Exchange Server, you can use OST to PST Converter, which converts OST data to PST without any issues. The software completes the conversion quickly and without causing any data loss.
You can export the entire OST file or specific items from it to PST format. Both technical and non-technical people can use the tool with ease thanks to its user-friendly interface.
Let’s take a look at how OST to PST Converter works.
- On your Windows system, download, install and run the software.
- Using the Browse button, add an OST file.
- Examine the entire contents of the OST file and choose which items to convert.
- Under Output format, choose to Convert to PST.
- To provide a location to save the PST file, click the Browse button.
- To begin the conversion, click the Convert Now button.
Why would you choose a software solution over a manual one?
There are a number of reasons to prefer a software solution to a manual solution –
- Data security is not in the guarantee.
- It necessitates the use of Outlook and Exchange Server.
- Novice users may find it difficult to navigate.
- To understand the process, you’ll need technical knowledge.
- Protracted and time-consuming procedure.
Final Thoughts
With this blog, you’ll find both manual and automated OST to PST converter solutions. For this conversion, you can use any of the methods.
Manual solutions, on the other hand, are not appropriate for all users. As a result, experts advise using a third-party tool to obtain accurate and immediate conversion results.
Before purchasing the software, a free demo can download to test the application’s functionality.


