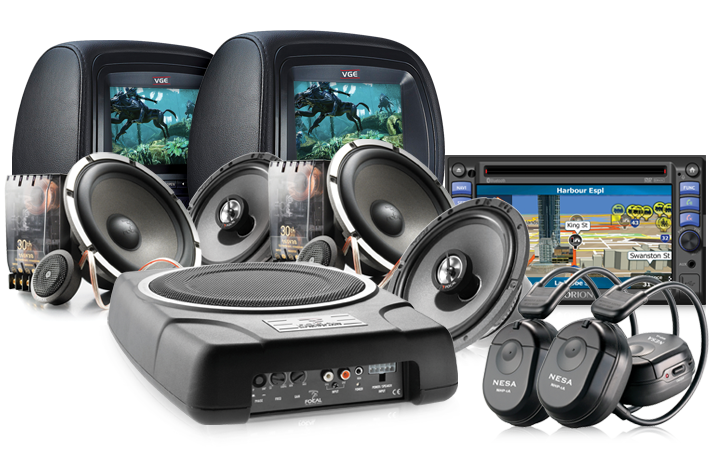
Car audios are installed in a vehicle for providing in-car entertainment and information to the vehicle passengers. The vehicles in the older times had FM radio, 8-track tape players, cassette players, record players, CD players, DVD players, Blu-ray players and so much more. However, now the car play and android auto have been introduced in the vehicles. Previously they were being controlled from the dashboards by just pushing a few buttons but now the control buttons come embedded in a steering wheel. The car audios controlled by a steering wheel are replaced with factory radios for obtaining more features. These are also called OEM Replacement Units.
How to install car audio yourself?
If you want to install car audio in your vehicle for a cheaper price then there are certain things you need to learn before.
Know how to handle the tools:
One should have some knowledge about the tools. The workload of installing car audio by yourself is very demanding and will require you to be in a good condition. A car audio installer has to kneel and stoop in tight spaces for a long period of time. For this purpose, an audio car installer should have strong stamina. Prior knowledge of electrical equipment is necessary and one should also be comfortable with the tools and other equipment.
Disconnect the negative cable from your car battery:
This is a very important step, make sure that you don’t forget to do it. Disconnecting the negative cable from your car battery will reduce the chances of your electrical system being short-circuited.
Unscrew the trim:
When trying to take out the trim make sure that you unscrew all the screws. If any screw is missed and you try to pry off the trim, then it can break. Some cars might have several pieces of plastic trim. Remove them by using a pry tool, it is specifically made for this purpose. Disconnect any components that might be wired to the car and prevent you from reaching the stereo. Loosen the stereo by removing any screws or nuts that are holding it in place.
Gently pull the stereo out:
After that with the help of needle-nose pliers, grip the edge of the stereo and pull it out. Pull it gently but if the stereo does not come out then it means that any screw or nut was missed which is holding it in place.
Read More: Advantages Of Hiring Professional Painters And Decorators
Unplug the stereo connections:
A variety of wires will be connected to the stereo, you have to unplug them all. First, unplug the wire antenna. It is thicker than the rest of the wires so can be easily distinguished. Next, move around the stereo and unplug the wire harness connectors. These are a series of wires which are plugged into once hence you will be easily able to distinguish them. The plastic piece into which the wires are fed has a tab that is pushed to release the harness.
Installation of the new stereo:
Match the wires of the car harness with the harness of the new stereos which is to be installed. Double-check for making sure that the wires are connected correctly. If your car does not have a harness then you would have to match your wires manually. The wires are color-coded which can make this process relatively easy.
Assemble the mounting kit and connect it to a power source:
If your stereo system came with a separate mounting kit, then assemble it according to the stereos instructions. For establishing a power source, connect the wire harnesses of your new stereo to the harness of your car. But if you are not using a harness then you would have to connect the wires manually.
Ground the stereo:
In the case of wiring harnesses, ground the stereo. A ground connection is necessary for the optimal performance of a stereo. If the ground wire connection is loose then the result of it will be poor audio output. To eradicate this, you can sand it down with sandpaper for creating a good connection.
Test out the stereo:
Connect the remaining wires and now it is time to test out the stereo. Turn it on and test the FM, AM, and CD components. Make sure that the speakers are working properly. If everything is fine, then turn it off, screw the stereo back in place, and then you are good to go.
Whilst installing a car stereo, keep in mind that some cars are complicated than others. Installation of every car stereo will be different and the specifics will also differ so be sure that you read the instructions that come with a stereo installation before you do it yourself.

